Sell-Side Hierarchy
In this article we’ll walk you through The MediaGrid sell-side hierarchy. Knowing how sell-side objects are connected on our platform will help you make the right decision for mapping your physical page and / or app ad slots to our entities.
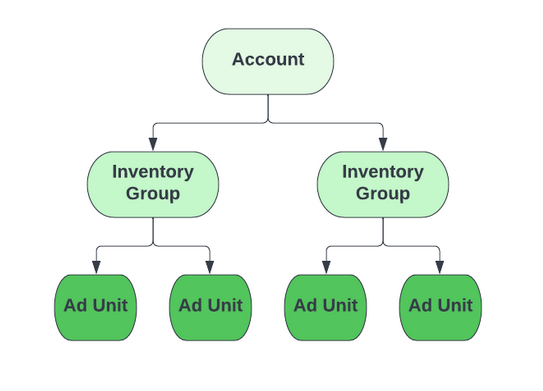
Account is the highest-level hierarchy entity that represents an end client (supply partner) for The MediaGrid, a publisher or a publisher network.
Accounts sort inventory into Inventory Groups in order to break up their supply by any of the following principles:
Integration type - Amazon TAM integrations should run under a separate Inventory Group vs Prebid.js, Prebid Server or any other integration types
Ads.txt entry - in case you want run a portion of inventory under a separate Pub ID, this is a viable use case for Pub Networks with some major publishers willing
Inventory types or media type - though The MediaGrid provides granular reporting that allows accessing these dimensions some publisher may still want to create separate Inventory Groups
Ad Unit is the smallest sell-side object. An ad unit represents an ID mapping to a single physical slot or in some cases multiple physical slots that ads can run on. The ad unit IDs need to be populated in the bid request (either the integration type is header bidding or tags) in order for our platform to identify the source of the traffic.
For Media Curators looking to provide managed service integration for their Publishers into The MediaGrid we support multi-Account access scope. In order to enable this kind of access, please reach out to your technical account manager.
Here’s a visualization of how the sell-side hierarchy objects are connected:
Inventory Mapping
When setting up your account, your Technical Account Manager (TAM) at The MediaGrid will create a default Inventory Group or several default Inventory groups depending on the integration types that you are going to utilize.
You can then follow the Supply Onboarding section to extend your setup and include other portions of your supply into new Inventory Groups.
For integrations that require Ad Unit level inventory Mapping (all integrations, except Amazon TAM) you will need to create Ad Units under the respective Inventory Groups. From an ad unit mapping standpoint you can either mirror your current ad unit mapping structure (RON - Run of Network, ROS - Run of Site, etc) or come up with a hybrid approach for different portions of your inventory.
Follow the Setting Up New Ad Units guideline to map your supply to The MediaGrid.
If you want The MediaGrid representative to do a bulk ad unit mapping upload for larger ad unit portions, please send over the updated mapping csv to your dedicated TAM or to the support team via pubsupport@themediagrid.com.
Ad Unit ID
The ID of the ad unit provided by The MediaGrid platform plays the most important role in the integration process:
It needs to be passed within imp.tagid field for any server-side based integrations (Prebid Server, Publica, SpringServe)
For regular Prebid.js and Prebid Server integrations Ad Unit ID needs to be configured as uid within the wrapper setup
For tag-based integrations the ad unit ID is part of the tag,
&auid={created_ad_unit_ID}
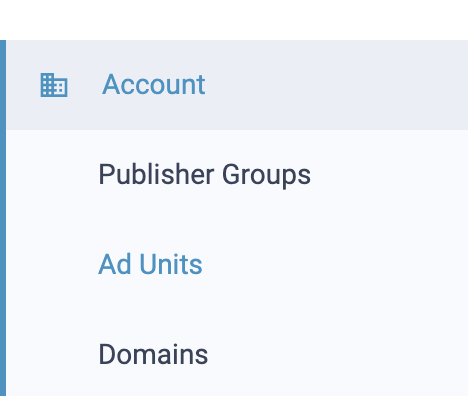
Use the ID column in the Ad Units table in the UI
Or use the Download List button to bulk download all of the contents of the pre-filtered Ad Units table
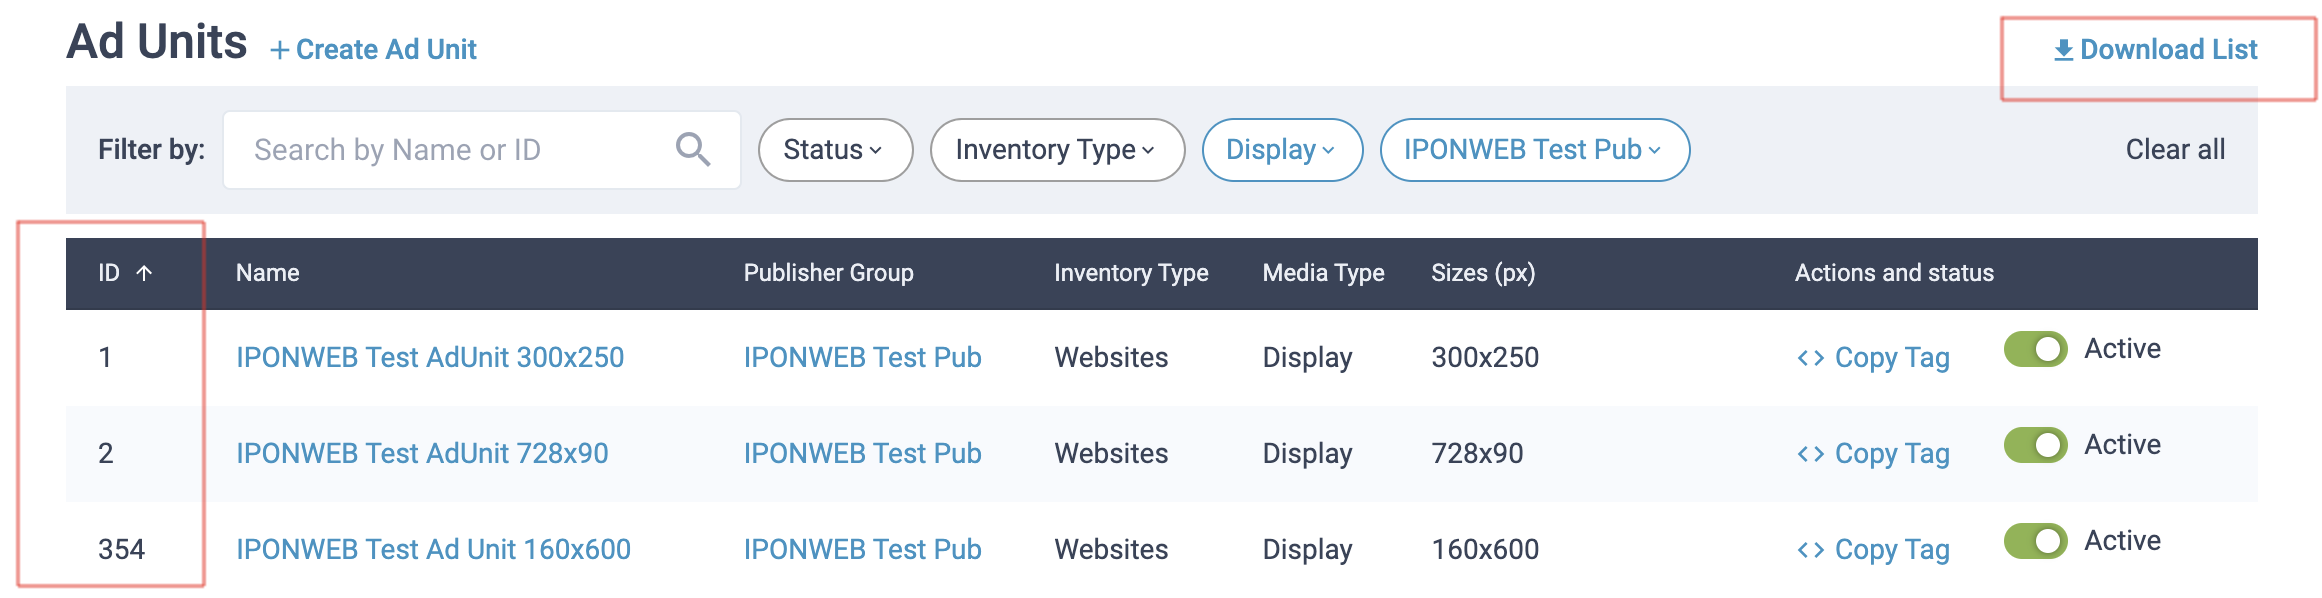
When launching traffic please make sure that all the necessary Ad Units are set to Active status. You can pause the trading against any specific ad unit without making changes to the page integration, if you switch the Ad Unit status to Inactive. Please make sure that you’re not deactivating a critical performant ad unit.
Inventory Management
Creating Inventory Groups
The overall UI Account is controlled by a Publisher client, and it is this ‘parent’ Account from whom buyers purchase inventory on the MediaGrid. Within the UI each publisher can manage one or more ‘child’ inventory groups through which sites, application bundles their ad slots, and ads.txt entries can be grouped and managed. An inventory group can also be used to group Run of Site (ROS) or Run of Network (RON) inventory. For example, you may create an inventory group to manage a collection of sports sites and a different inventory group to manage a collection of cooking recipe sites. You can also use separate inventory groups in order to:
Run a portion of supply under a different ads.txt entry
Break out Prebid and Amazon TAM integrations (recommended)
Support granular advertiser blocklists
To create an inventory group, use the following steps.
Open the new inventory groups page by selecting
Enter the group name, and if necessary generate a custom ads.txt entry. Note: It is important for each domain to host its publisher’s ads.txt entry.
In the Blocked Creative Categories field, select the kinds of ads you do not want shown on your sites, e.g.
IAB-26(Illegal content). By default a few types of creatives are blocked, you can read more in the The MediaGrid Buy and Sell side Policies article.Once you are ready, click Create New Inventory Group. After this you can proceed with Ad Units creation for this Inventory Group.
Note
For Amazon TAM integrations the mapping is happening on the publisher ID level vs ad unit level, therefore no Ad Units mapping is required.
Creating Ad Units
Ad units form the basis for the kind of avails you sell on your sites. Each ad unit is filled by an appropriate creative which matches the dimensions you specify, and in the case of video the supported video types. To create ad units, use the following steps.
Select .
Set the Ad Unit Name and associate it with an Inventory Group.
Set the Inventory Type
Set the Media Type. Depending on the type, you need to fill in some additional settings.
For Display on both Websites and in App, set the sizes that are available to Buyers, e.g.
320x50,728x90,160x600For Video on Websites, CTV, and in App, you need to specify the following.
Set the supported video sizes
Set whether the video should be skippable
Set the Video Placement Type to either Instream, Outstream, In-Feed or Interstitial.
Set the Minimum Duration and Maximum Duration
Set the supported API Framework and MIME types
Once finished, select Create Ad Unit. After this is done, you can copy the ad tag.
Note
Ad unit attributes (size, in-stream etc.) can be passed in bid requests and override the settings in the UI. Details can be found in the relevant guide depending on your integration, see the Server-To-Server Integration or Client-side Header Bidding section.